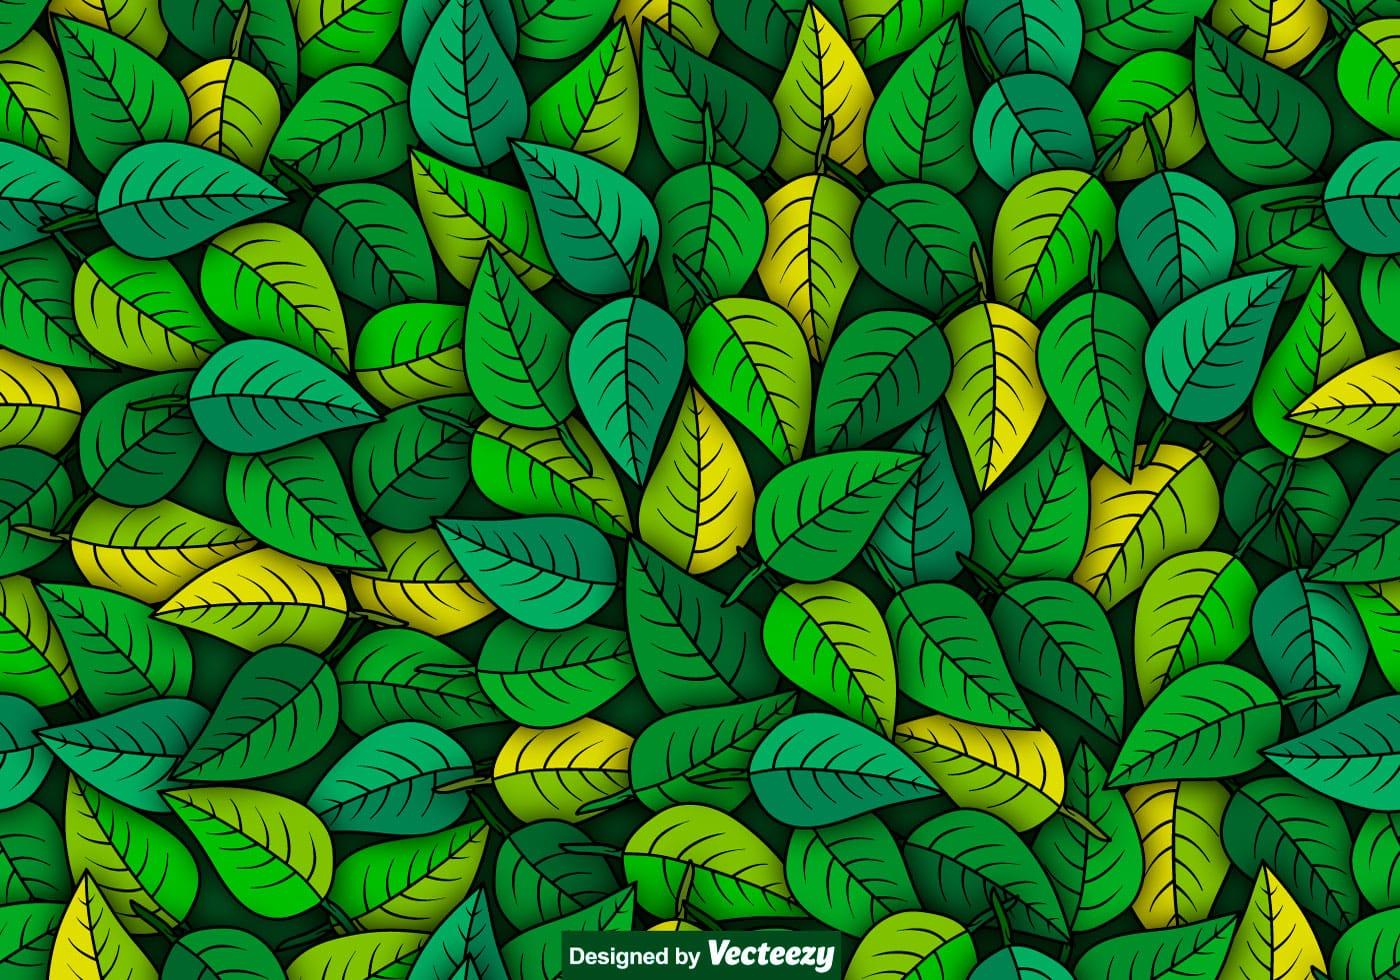
Seamless Patterns

A seamless pattern is an image or texture that can be duplicated and placed side-by-side, without distinct borders or separations. These patterns enable a single image to be endlessly repeated to create unique backgrounds, text effects, or brand elements.
In Adobe Illustrator, the options are endless. You can arrange these free icons as you choose, recolor them with the Color or Swatches panels, bring in texture, and more. With these free nature-inspired icons, you can create visually interesting backgrounds to supplement graphics that promote sustainability, nature, gardening, or recycling.
Step 1: Create Square Shape
Start off by opening up the Adobe Illustrator program and creating a new document with Command + N. Set the dimensions of your artboard and click Create.

Activate the Rectangle Tool (M) then hit the Option key to bring up the Rectangle size menu. Constrain proportions by clicking on the link icon and enter in a value for your square. Remember the height and width value; this is essential when arranging the earth icons later on.
Step 2: Arrange Icons
Go ahead and download the icons using the button at the top of this article. Open up the EPS file by double-clicking (or Control-click on Mac) and selecting Open With > Adobe Illustrator. Each icon is grouped together, ready to be placed in a pattern.
Select an icon with the Selection Tool (V), holding down the Shift key to select multiple at a time. Hit Command + C to copy, then head back to your new document and hit Command + V to paste.

Arrange your icons within the square, but allow for some to hang off the edges. Be sure to leave room on the opposite side of the square for any icons that exceed the square’s boundaries.
To copy and move overhanging icons, select the icon and hit Shift + Command + M to bring up the Move menu. The heart earth icon above is placed on the bottom right of the square, but in order to remain seamless, it needs to be moved and copied on the opposite side in 90 degree increments (0, 90, 180, 270, or 360 degrees).

This is where the dimensions of your square come in need. I entered -400 px in the Horizontalvalue and 0 px in the Vertical value, then set the Angle to 180 degrees. Check off the Preview to see where the transformation lies. Once you’re satisfied, hit Copy to duplicate the icon. Rinse and repeat for the remaining icons.
Step 3: Make Clipping Mask
Select the square background and copy with Command + C and paste in front with Command + F. The top square will act as your clipping mask boundary and the bottom square as the pattern background.

Group all elements except the topmost square with Command + G. Select all vector elements and hit Command + 7 to initiate the clipping mask. This is now the foundation of your pattern.
Step 4: Set as Pattern
Activate the pattern and head on up to Object > Pattern > Make. A square outline around your pattern will appear, along with the Pattern Options menu. Type out a name for the pattern swatch and set the Tile Type to Grid. Be sure both Size Tile to Art and Move Tile with Art are checked off.

Once you’re satisfied with the pattern, hit Done at top of the program to save your new pattern swatch in the Swatches panel.

To use the new pattern swatch, draw a shape with any of the Shapes tools and activate the new swatch. The pattern will instantly fill any selected shape. This technique can be used for more than these earth-inspired icons; you can create endless seamless patterns with shapes, illustrations, and more.


