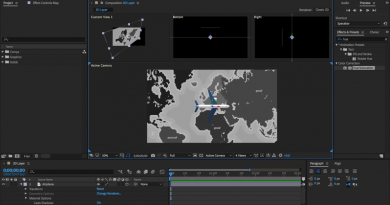
Remove Noise Grain – After Effetcts
Footage via Shutterstock (noise added in post).
After Effects has an effect called Remove Grain (pictured above). A major limitation of using this effect for noise removal is that it’s only available in After Effects. If you’re in Premiere, you’re going to have to send your footage over to After Effects by right-clicking and selecting Replace with After Effects Composition and then go back and forth. You can read about the process in this PremiumBeat post).
The limitations don’t end there. The biggest thing that holds this effect back is that it’s extremely slow. The plugin defaults to showing you a preview region, so to view the final output, you have to change the Viewing Mode to Final Output. However, once you do this, you’ll notice that it takes forever (preview options always slow things down). For some of the more grainy shots (like the one above), to get an even passable result, you need to turn up the Noise Reduction level to at least 2 or 3 and raise the Passes to around 3 or 4. This slows things down severely. At times, with some of the most grainy images, it would take almost thirty seconds to view one frame of the final output.
If you fiddle around with the settings a bit and try to find the best of both worlds in terms of performance and natural-looking images, you can get good results. You just may have to wait a while, especially if you have multiple shots to process.
Source: PremiumBeat


